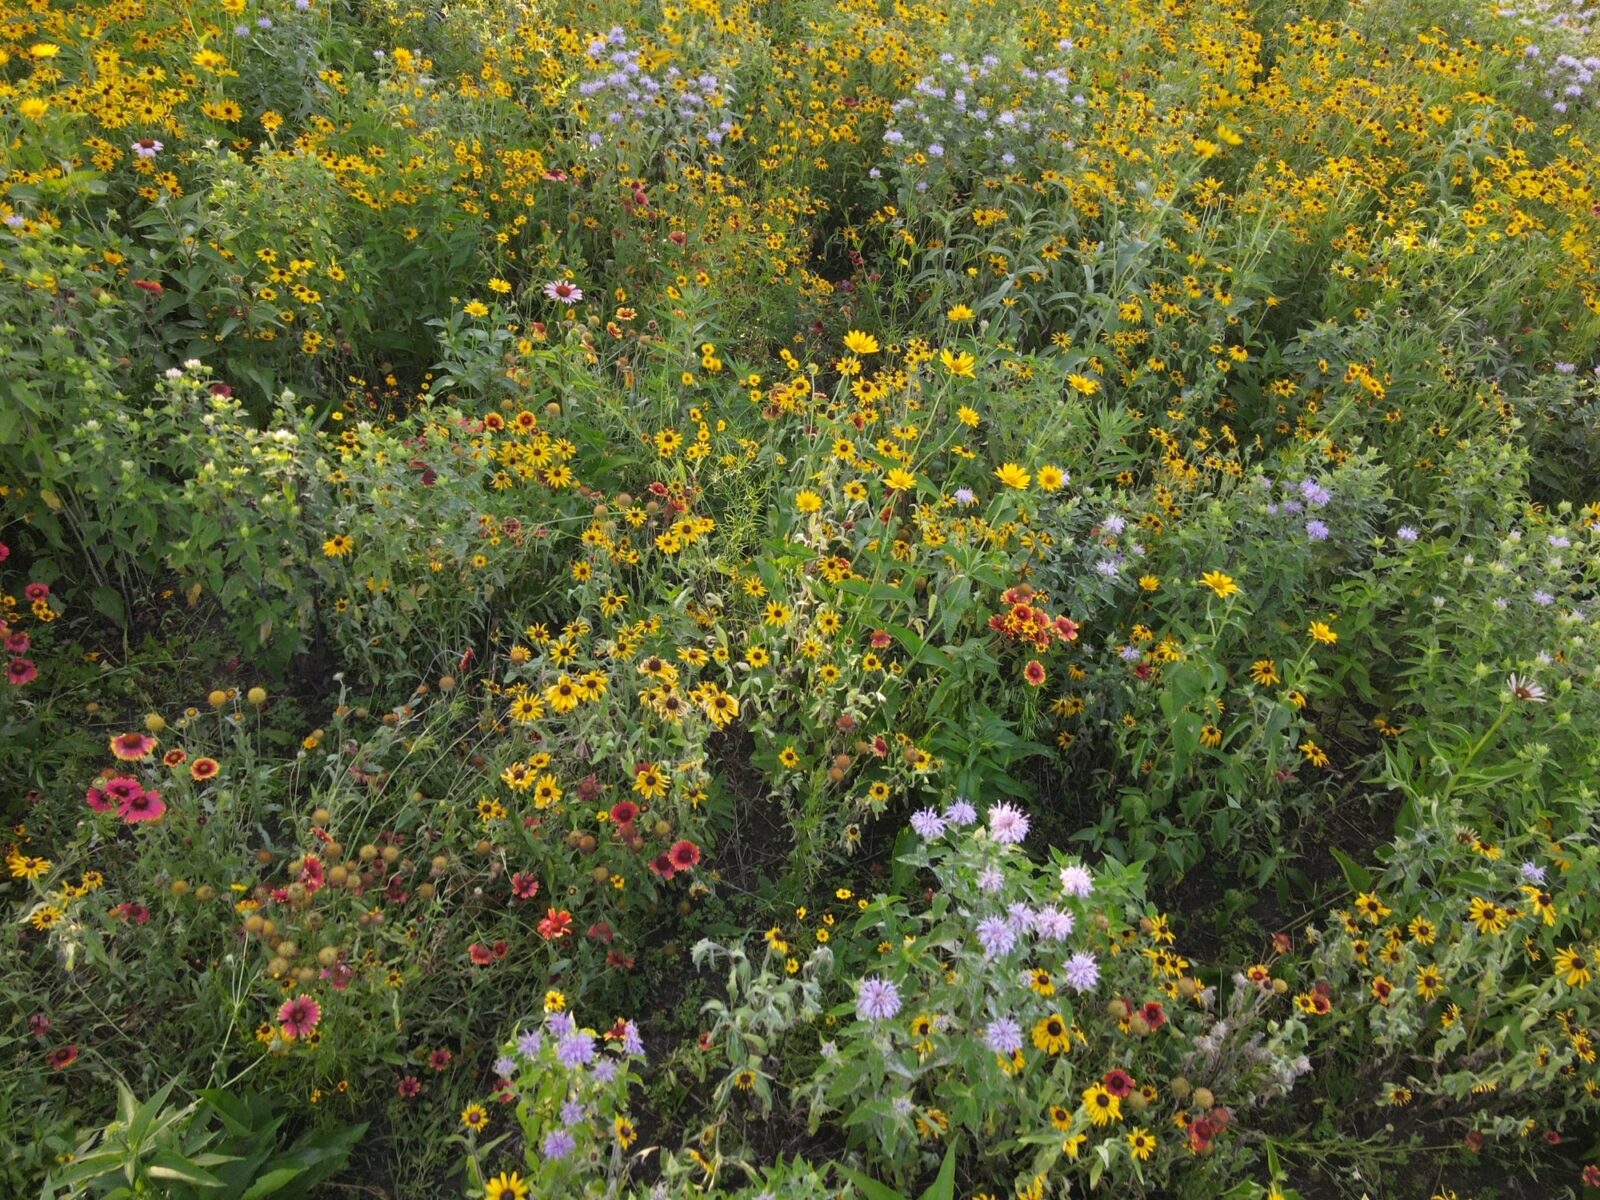
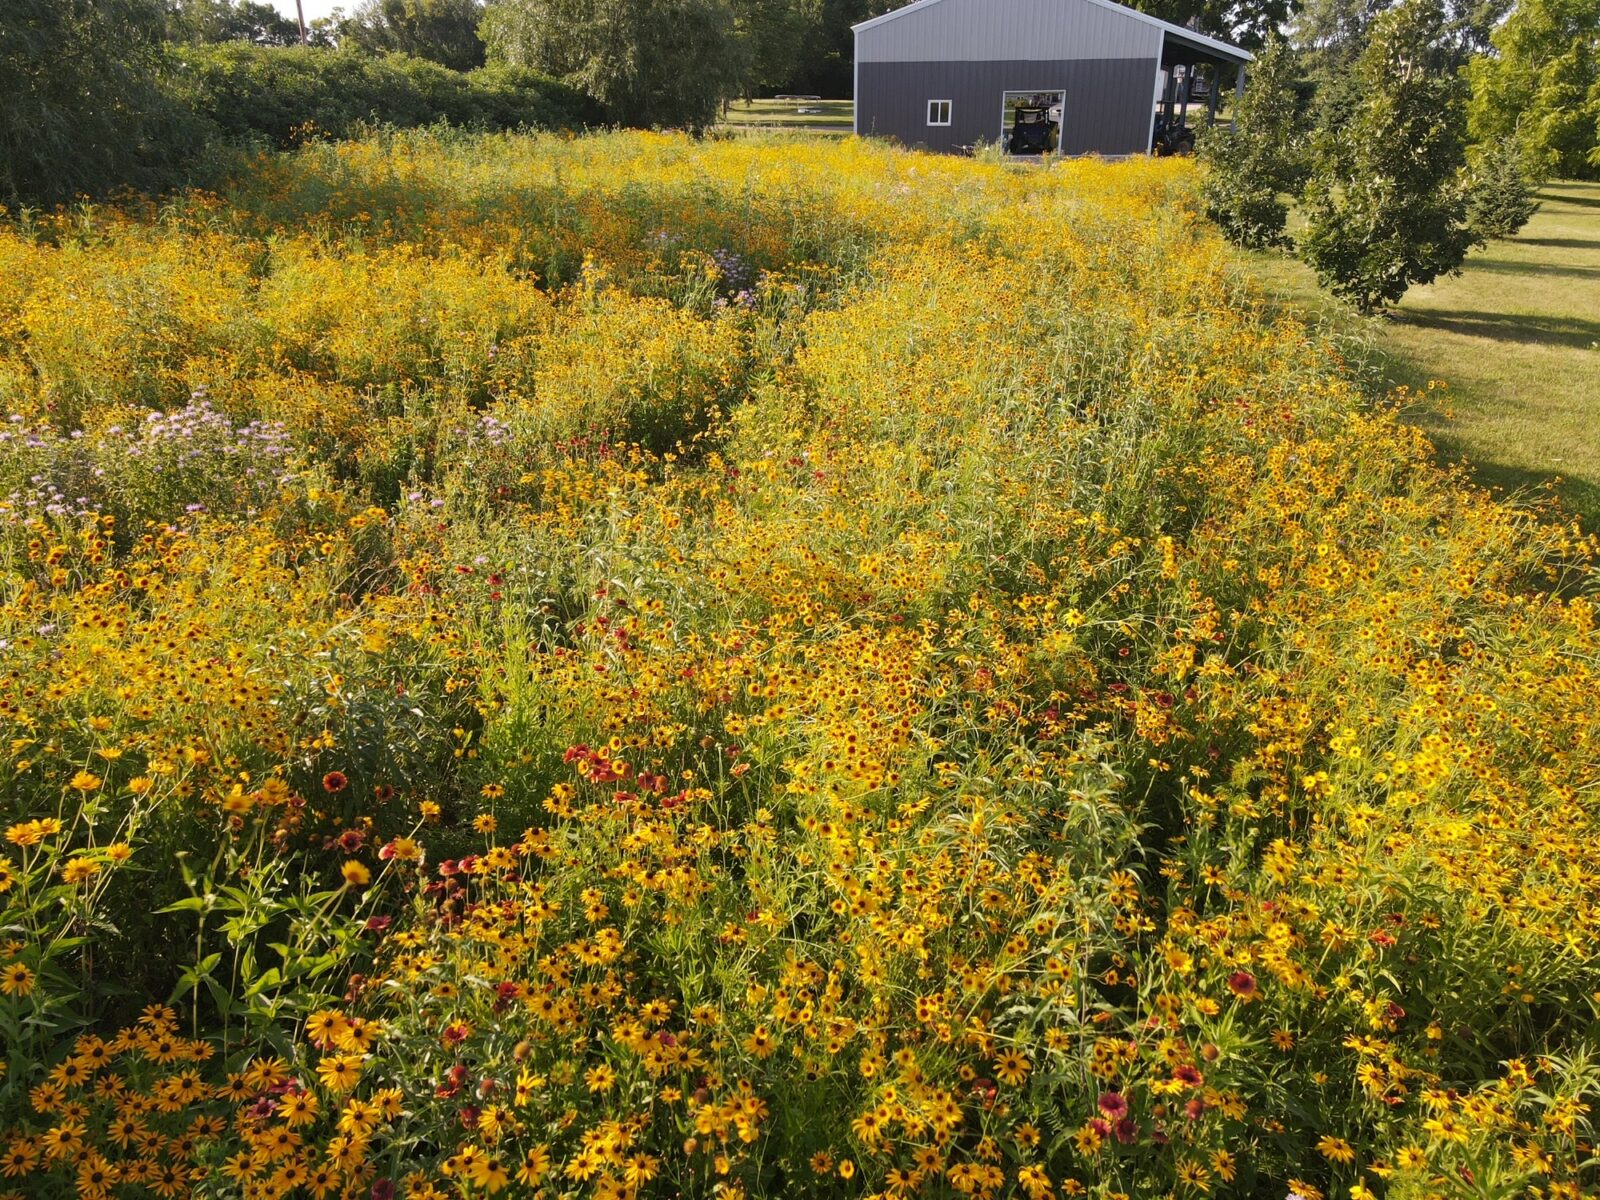
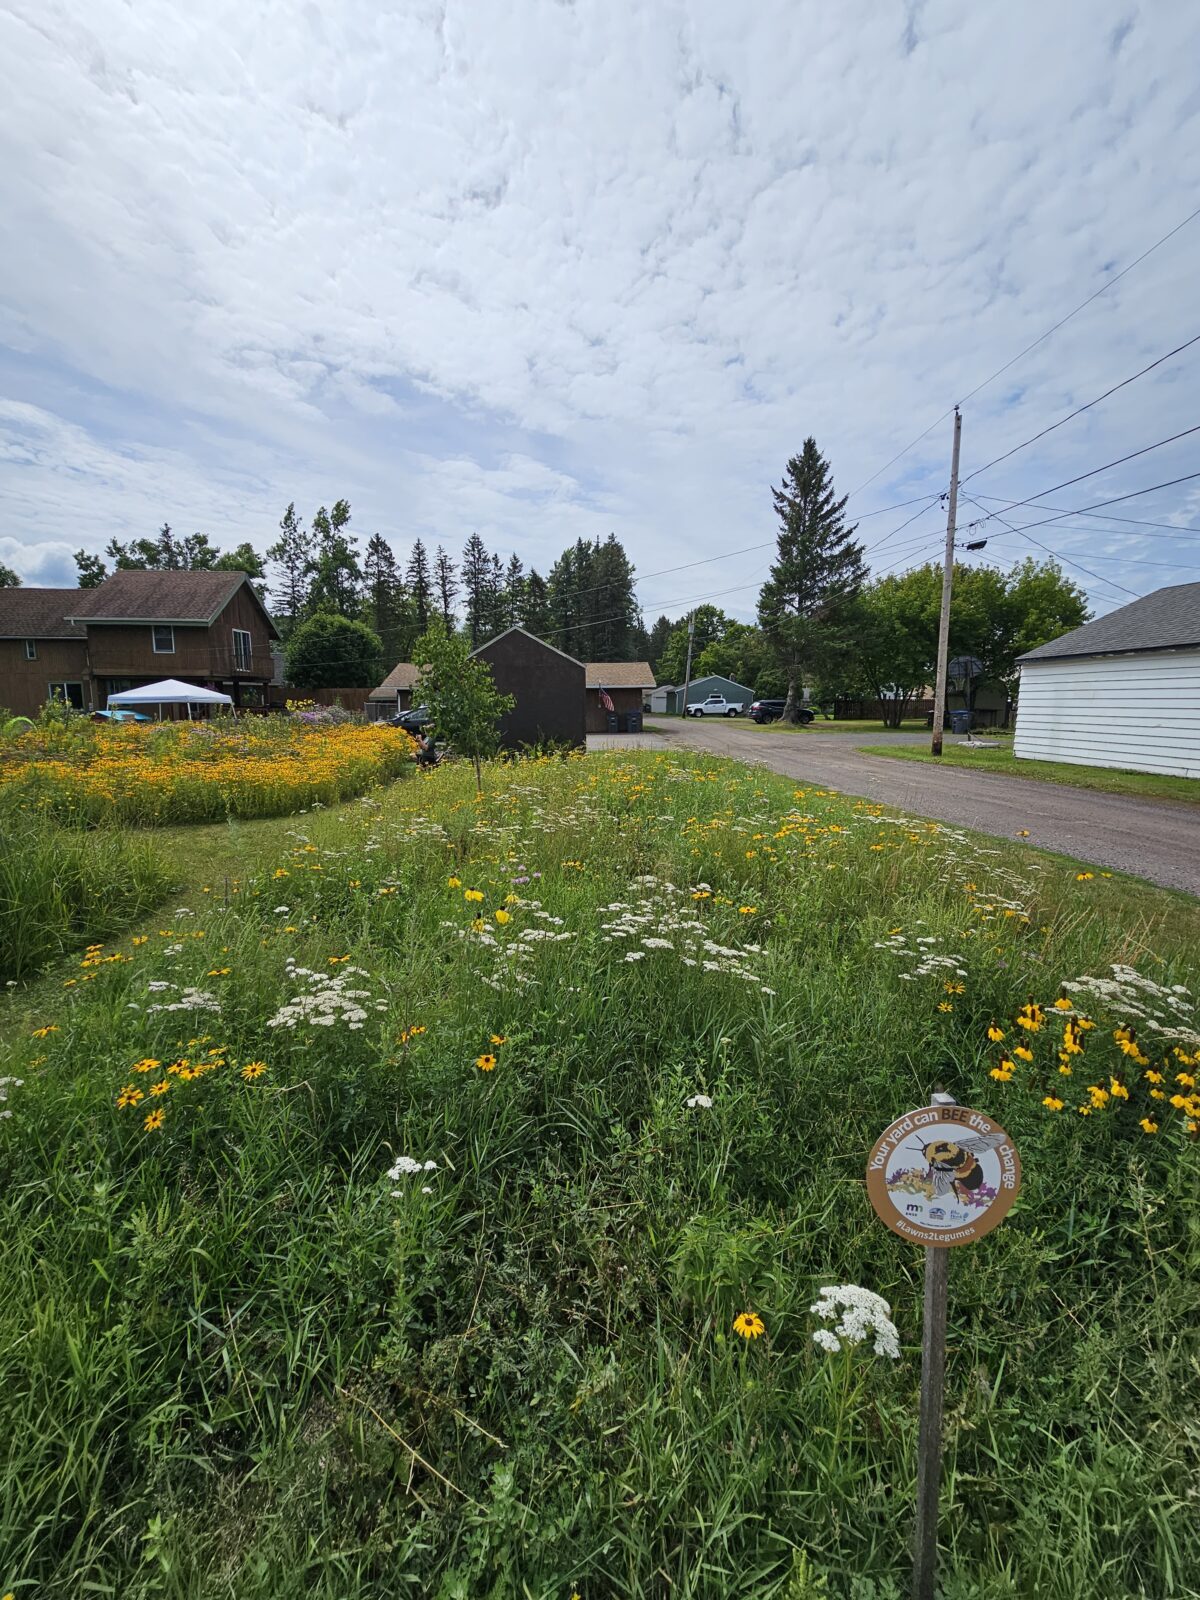
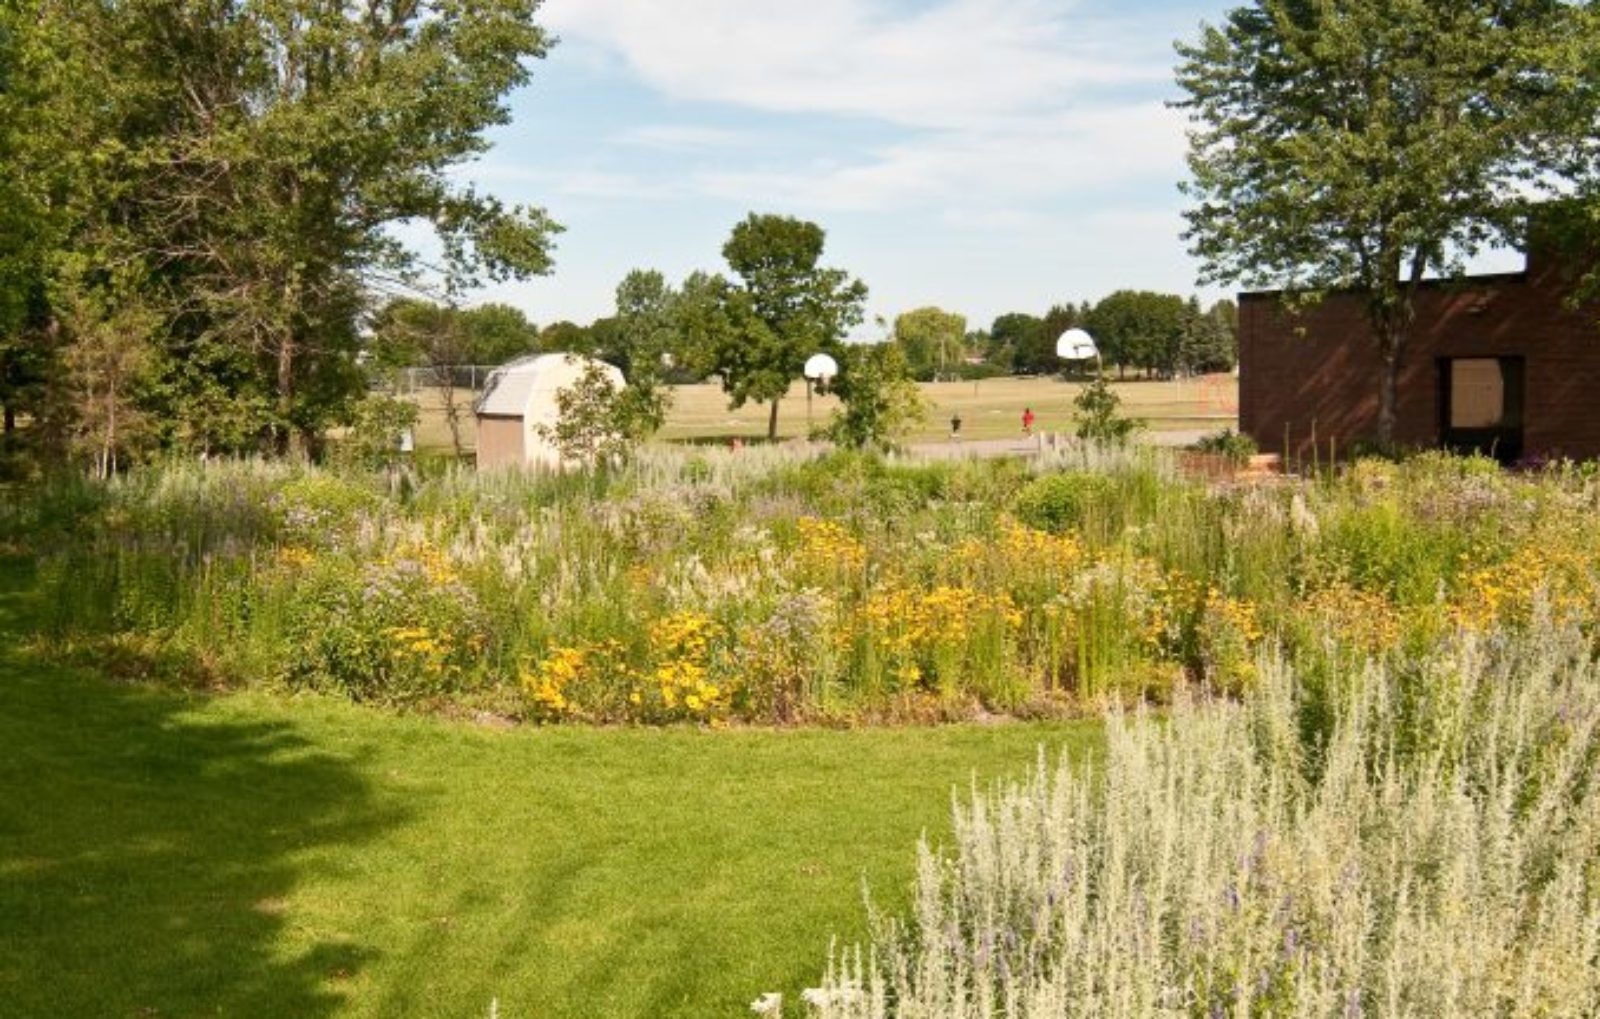
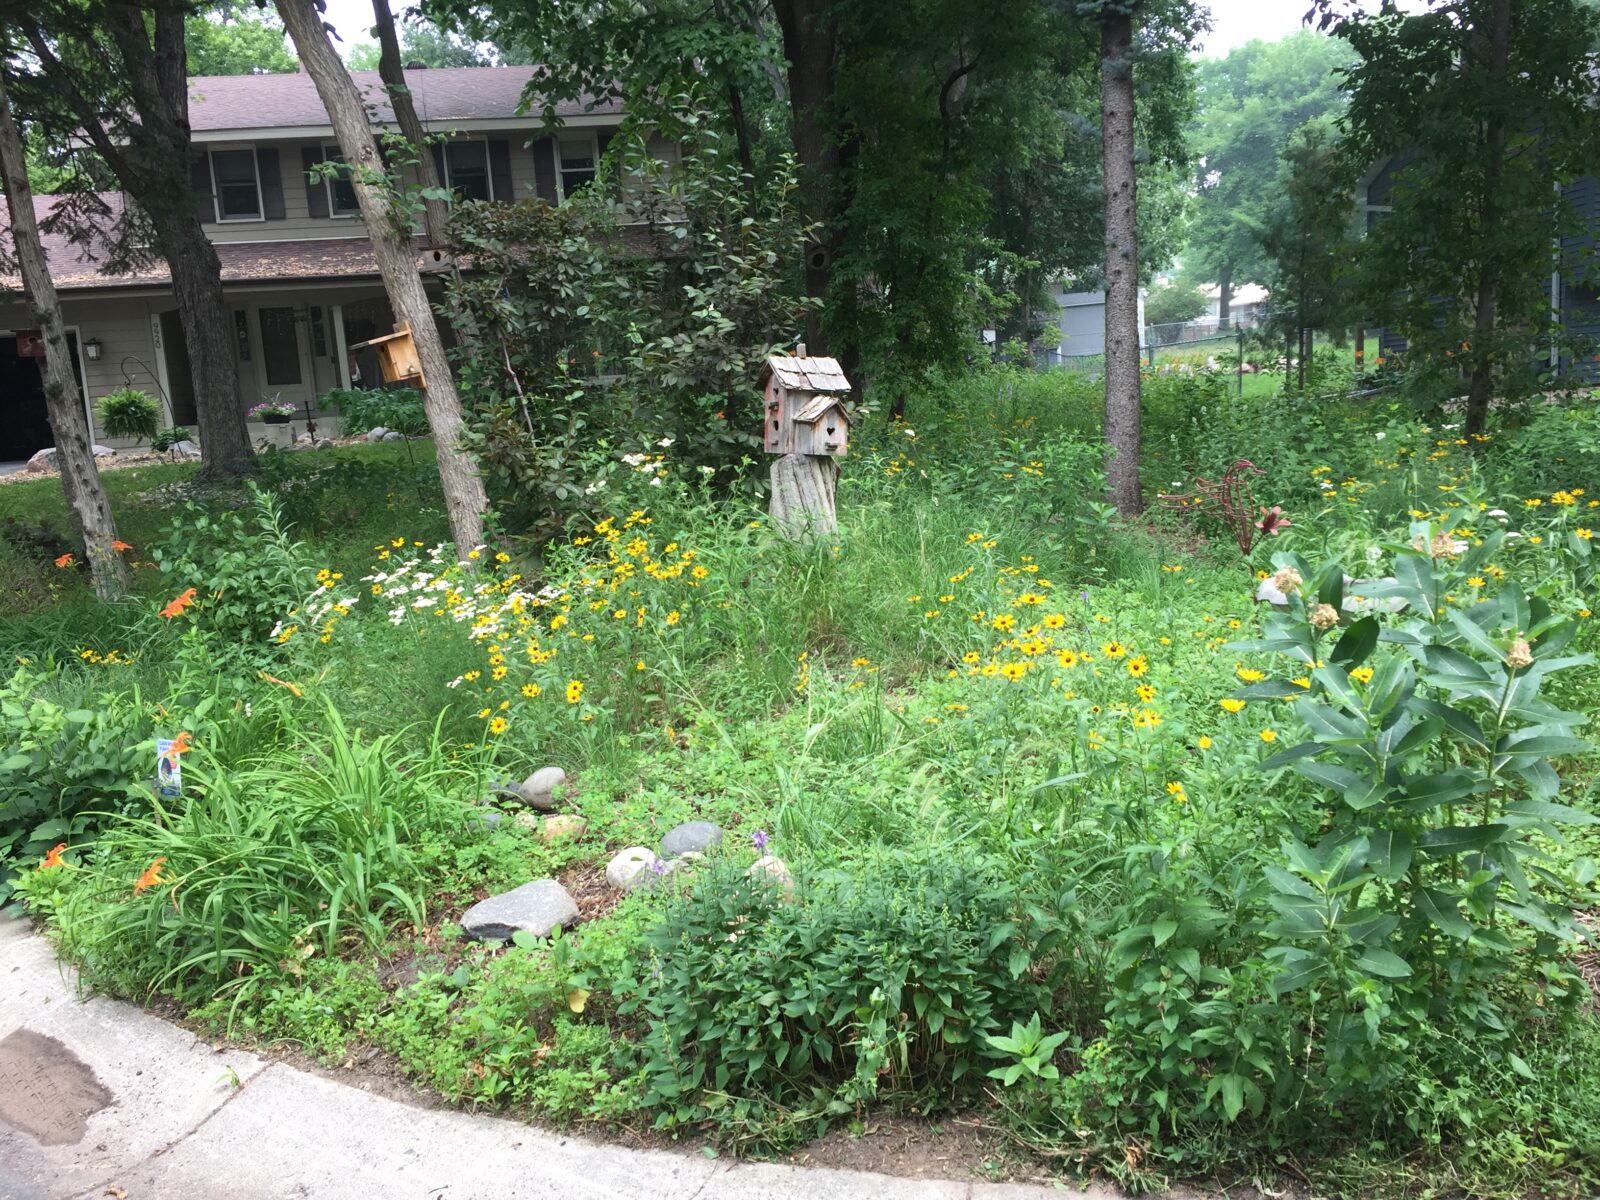
Pollinator Meadows are expansive areas full of a diversity of native plants, much like the original prairie that covered the Great Plains. Pollinator meadows are the most beneficial choice for supporting as many pollinators as possible, so if you have the time and space to create a pollinator meadow, go for it! The easiest way to achieve this might be to plant pocket gardens side by side, eventually creating a meadow that takes up your full yard.
For more guidance on installing your pollinator meadow project, check out the Resilient Yards Online Learning Series.
Select your planting location
First, consider where you’ll be planting. The first and most important step is to assess your yard. What areas of your yard can be used to install a project? How large or small do you want your project to be? Notice where trees and existing landscaping are. Examine the type of soil you have. These are all a part of a site assessment.
It can also be a valuable exercise to step back and think about where water goes once it leaves your property. Where is the nearest storm drain? Do you know what body of water this storm drain leads to? The Mississippi Watershed Management Organization has a useful Find Your Watershed tool for properties in the Twin Cities area. You can print a view of your property from your county’s GIS map and draw your site map over it like the image shown to the right.
Choose a strategy
Pollinator meadows are a big project to tackle and how you approach it will depend on what kind of tools or machinery you have access to. Pollinator meadows can be started from seed, all at once. Or, you may find it more approachable to work on your meadow bit-by-bit by starting a smaller garden and then converting more turf to native plants in subsequent spring and fall seasons.
- Bit-by-Bit (plugs): Containerized plants-not seeds- are the best choice for new gardeners and smaller gardens. They allow more control over layout and design of your garden, mature and bloom faster and have a higher survival rate.
- All at once (seeds): It can take much longer to establish native plants from seeds, and it can be difficult for new gardeners to distinguish weedy plants from desired species. However, seed mixes can be a cost efficient way to introduce diversity in larger pollinator plantings.
Design considerations
- Consider plant massing or “drifts”. Grouping the same species of plant together has many benefits: it helps you recognize what’s a weed and what’s not, has a higher visual impact, and makes it easier for pollinators to find the flowers in bloom. (Which is easier: locating a tray of freshly-baked cookies or tracking down individual crumbs?)
- Install borders to reduce weed infiltration and display “intent”. Some people think native plants can look messy. A border made from mulch, stone, edging, or a low ground cover frames your garden and makes it easier for others to see the beauty you’re growing.
- Know that the plants will move around. You may have given every thought to where each plant will be most happy, but it may have a different idea. Ideally, you can find a balance between crafting and maintaining your vision, and allowing the plants to express their own needs and preferences. If you do find a few species crowding out others, it may be a great opportunity to reduce their numbers and share them with others.
Select your plants
- Plant with seeds, plugs, larger plants, or a mix of all three. “Local ecotype” plants and seeds are sourced within 150 miles, and will be best suited for your site conditions.
- Select plants and/or seeds suitable for your site location. For seeding projects, the Minnesota Board of Water and Soil Resources has a list of mixes and seeding guides based on region and project purpose. Some Blue Thumb Partners also offer seed mixes for larger sites.
- Use a mixture of grasses and flowers. We recommend planting 80% flowers and 20% grasses. Though native grasses don’t provide nectar for pollinators, they offer a host of other benefits: garden structure, ground cover, nesting sites, and foliage for beneficial larvae.
- Choose a diversity of native plants that bloom throughout the year. The rusty patched bumble bee and many other pollinators need blooming flowers from April to October. Flowers also add visual interest to a garden.
- Check with the supplier of your native seeds or seed mixes for specific planting instructions. Some seeds are best sown in the fall, for example. For seeding projects, have realistic expectations. Most plantings grown from seed will take at least 3 years before they are even close to establishment.
Use Blue Thumb’s Plant Finder to search for native plants that thrive in your site’s conditions!
Prepare your site
Most native wildflowers need sunny conditions, but there are a number of woodland species adapted to shadier sites. Larger projects are more difficult to maintain, so taking care to situate the garden, rid the area of weeds, and prepare a welcoming seeding or planting bed is important.
- Hand digging is a quick but strenuous way to reach bare soil that’s ready to plant. You can do this by hand with a shovel (for very small areas), with a manual sod kicker, or with a sod-cutting machine (rentable from hardware stores). The sod and soil you remove can even be composted, shared with neighbors, or used to help regrade around a settling foundation.
- Sheet mulching, which requires less muscle but more time, involves applying a layer of cardboard covered with mulch to suffocate the grass beneath. You should first dig out invasive weeds like quack grass, creeping bellflower, and tree seedlings.
- Solarization works best with a mostly-sunny site and three months or more, but kills the toughest of weeds. It involves covering the area in a clear plastic sheet for several months (usually a whole growing season/summer).
- For seeding larger areas, cover crops are effective at improving soil health prior to planting and are a good option to prepare projects for planting seed in the fall.
Both sheet mulching and solarization kill the turfgrass underneath, which will slowly break down and add nutrients to the soil. Read more about these site preparation methods and other options in the Xerces Society’s Organic Site Preparation guide.
- Once the sod is removed, you will want to turn, loosen, and rake the compacted soil. This will make it easier to dig and plant your plants, while also allowing their roots to grow and expand.
- Exposing bare soil will likely expose weed seeds that have been stored in the soil. As part of the preparation, you can choose to install mulch or weed suppression material. Mulching your site protects the soil from erosion and maintains the de-compacted soil you created. It is better to mulch before planting so you don’t damage delicate plugs as you’re spreading mulch.
- If working with a smaller area, we recommend mulching your site with double-shredded hardwood mulch (available in bags or in bulk). This mulch doesn’t float like wood chips and it locks together more quickly, protecting your site better.
Planting
Planting with Plugs
- Before planting, lay out the plants before you put them in the ground so that you’re happy with their spacing.
- Once you’re happy with the spacing, plant your first plug by moving the mulch out of the way to get access to the soil. With your trowel, dig about 3-4 inches down, as big as the size of your plug.
- Take your plant out of the container. If the roots are wrapped around, break them down and massage them so they’re not in a spiral position.
- Put your plug in the soil. Bring all the soil on top, make sure the plug is snug, sturdy, and level with the ground. Distribute the mulch back on top and repeat with your remaining plugs! Water your plants immediately.
Planting with Seeds
- Aim for seed to soil contact. Spread seeds on top of the soil surface and lightly rake them into the soil to achieve good soil contact. Be careful to plant the tiny flower seeds near the soil surface.
- After sowing, lightly pack the soil surface after you have spread the seed. Water your seeds immediately. You do not need to provide native plant seedlings with supplemental watering as long as they receive about one inch of rainfall a week.
- Do not fertilize—native plants are well-adapted to poor soils.
Maintaining your garden
A native garden will need some attention during the first few years of its life to thrive in the long run. It only takes a little time and a few simple habits to maintain your new pollinator planting:
Watering
- For new planting, water a total of 1 inch twice a week, more during especially dry weeks. Watering frequency can be reduced to 1 inch once a week for second year plantings, and 1 inch during times of drought for established plantings. It’s better to water a longer time every few days rather than a little every day. This encourages your native plants to grow deeper roots and become more resilient to drought.
- You can use a rain gauge or even an old can marked at one inch to measure rainfall.
- The best time of day to water is in the morning while the ground is still cool, which helps water soak into the soil. Watering in the afternoon is less efficient as some water will be lost through heat and evaporation, and watering at night should be avoided as water tends to rest in the soil and encourages rot and pests.
Weeding
- Plan for a weekly half-hour weeding session during the first year of your pollinator meadow, more time if your planting is larger. At the very least, we recommend weeding your garden three times a year, around Memorial Day, Independence Day, and Labor Day. Depending on the size of the planting, mowing may be the best option to keep weeds down.
- You can remove weeds by pulling or digging. One of the best times to weed is a few hours after it rains, when water has had enough time to soak the soil. Grab the weed as low as you can and pull slowly to get all the roots. Do your best to minimize damage to neighboring desirable plants and fill in any holes left after digging. Bag and dispose of weed material—weeds left on the ground can root into the soil and grow back.
Give it patience! Native plant seeds may take months or years to germinate. Small plugs usually take 3 years to grow to maturity. Even larger plants can spend the first growing season establishing a strong root system before they fill out above the ground.
For more year-round pollinator meadow installation and maintenance information, check out the Resilient Yards Online Learning Series.
Go back to Plan a Project page